

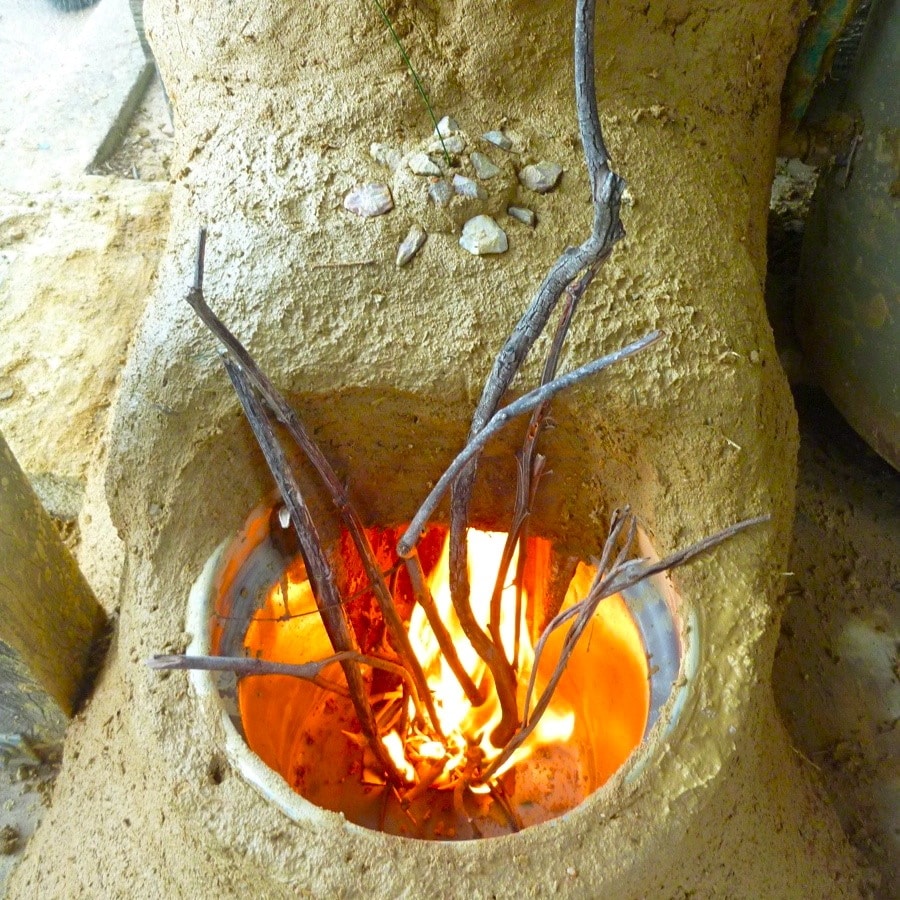
Rocket stoves are awesome, experimental, and a knowledge stream in flux. Or ours is, at any rate. Our rocket stove water heater has been doing its thing for nearly 3 years now, so we decided to take it apart and do a full examination of how it had fared.
So Nick and our current permaculture interns set to work completely dis-mantling the rocket stove water heater and examining all its components. We made new discoveries and adjustments, put it all back together, and then covered the whole thing with mud.
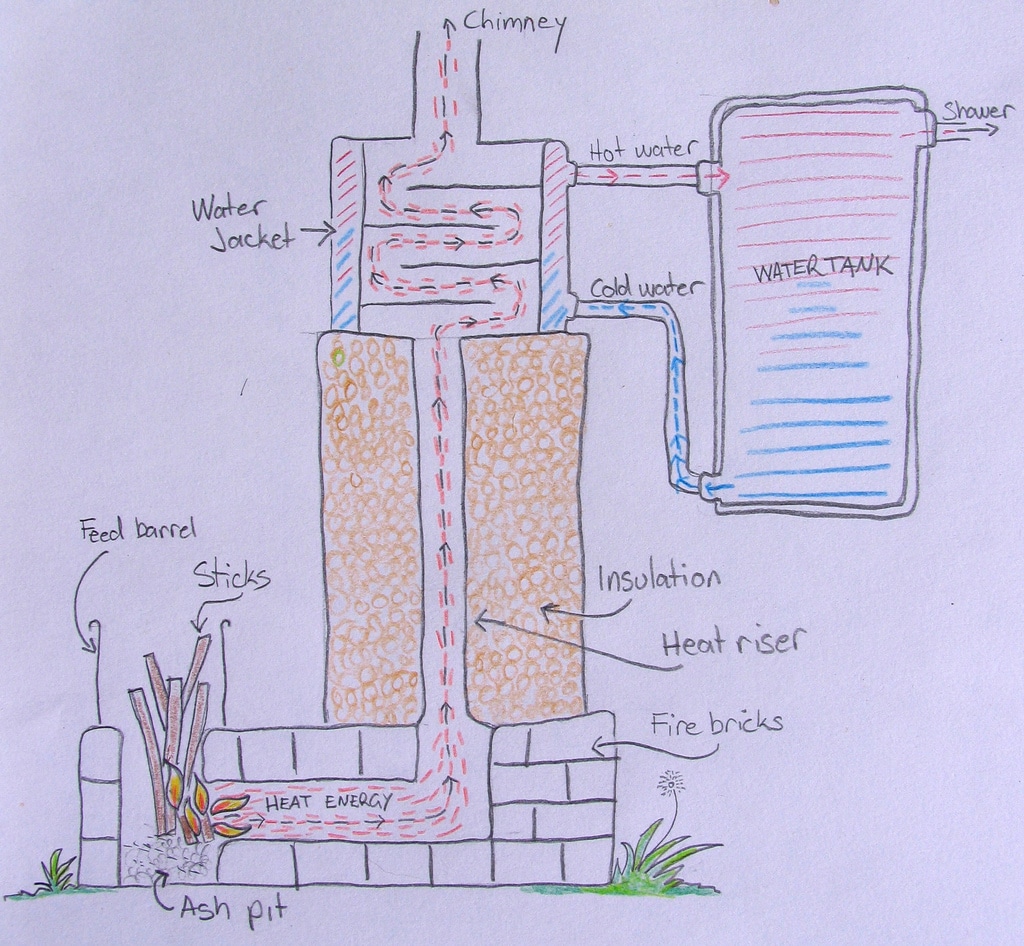
Diagram of our rocket stove water heater’s internal workings

The rocket stove water heater prior to redux, after 2.5 years hard labour. Working, but not as well as it might.
For a short history on our much beloved rocket stove water heater, see the original article here and our 2.5 year assessment here. This setup has definitely done good service, but it wasn’t functioning as efficiently as it used to. Time to see what was going on.
After taking the heat riser and the water jacket off, two things became clear. The first was that the vermiculite that we used as insulation in the heat riser had settled, leaving a 10cm gap at the top of the heat riser chamber. So that was decreasing the efficiency of heat transfer.
We chose to switch from vermiculite (which would continue to settle over time) to some left over earthwool insulation we had left over from the tinyhouse build. As earthwool is made from spun rock, it’s a good choice as it won’t burn or shift under the temperatures employed in our rocket stove.
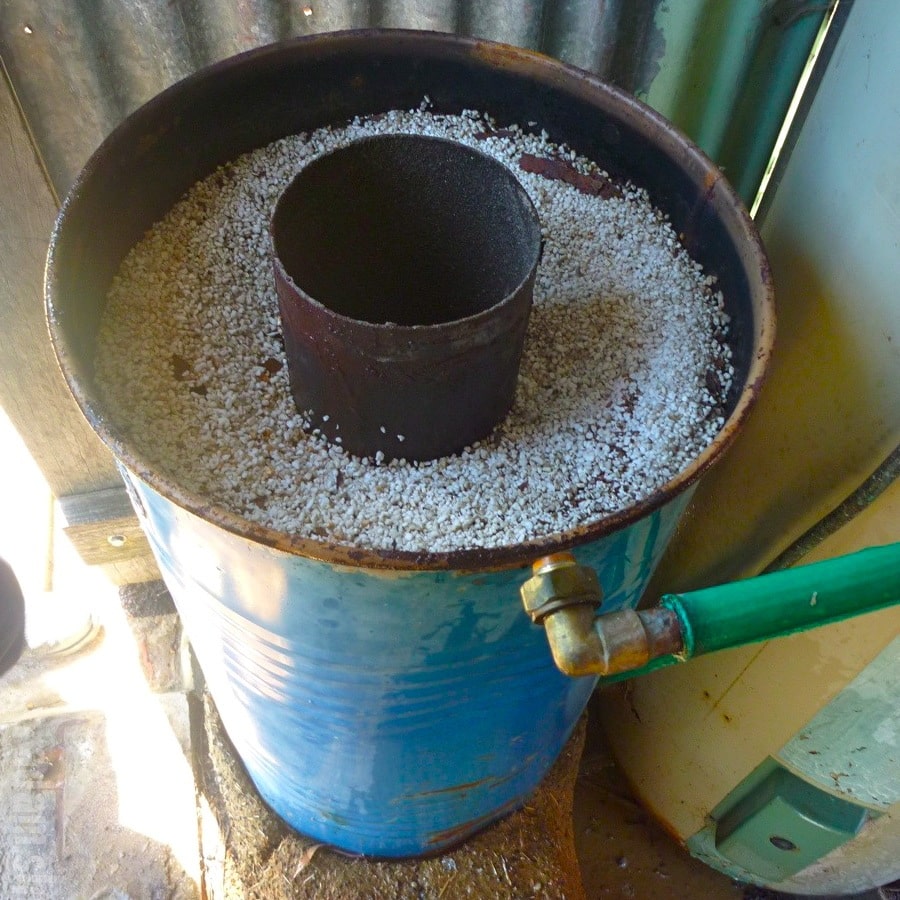
Settled vermiculite insulating the heat riser. 2.5 years ago, this was full.
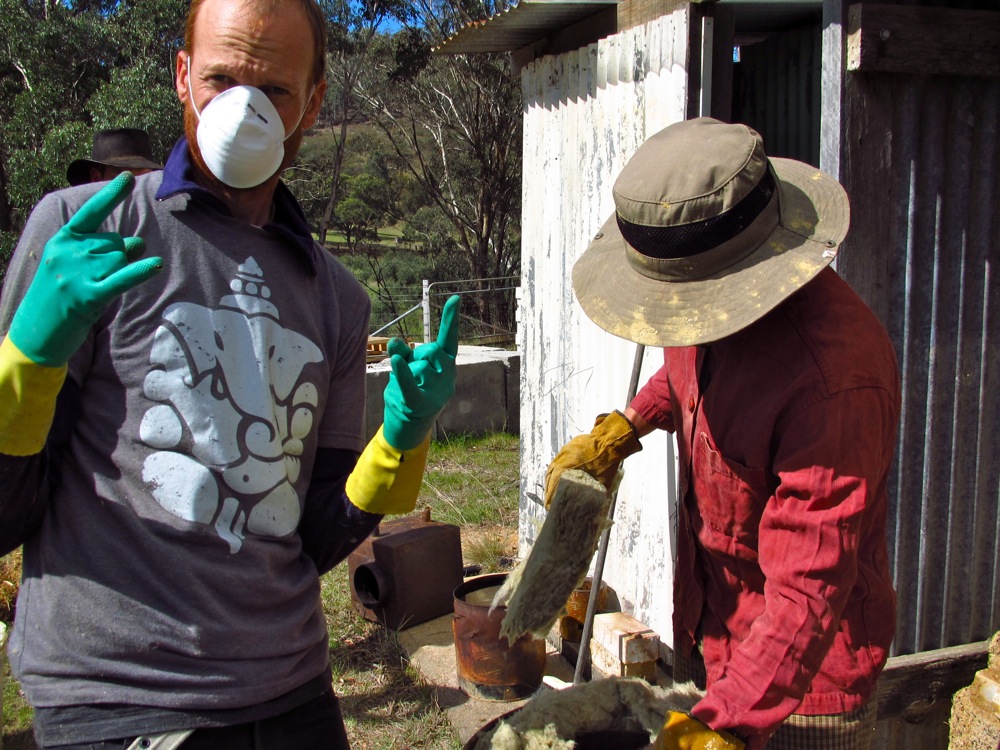
Adam suits up to install earthwool as the new insulative layer in the head riser.

Installing earthwool into the heat riser. Non-settling insulation that won’t burn, made from offcuts of another project.
The second thing we looked at was the water jacket heat exchanger. The internals of it were filthy. While you would expect any chimney to be filthy (in a wholesomely sooty way), there was so much creosote build-up on the walls that we could scrub it off in massive flakes.
This meant that there was a thick layer of stuff between the hot air from the fire and the metal lining in which the water waited to be heated. Which is not what you want for efficient hot-air-to-hot-water transfer. So we scrubbed it out.
This creosote is coming from the eucalyptus sticks we burn in the rocket stove. It’s a natural byproduct that you’re going to have to live with, if your available wood source contains large amounts of it. So until we get our super year-round-willow-coppice-sapling-stickwood supply sorted, we’ve got lots of creosote. Fair enough.
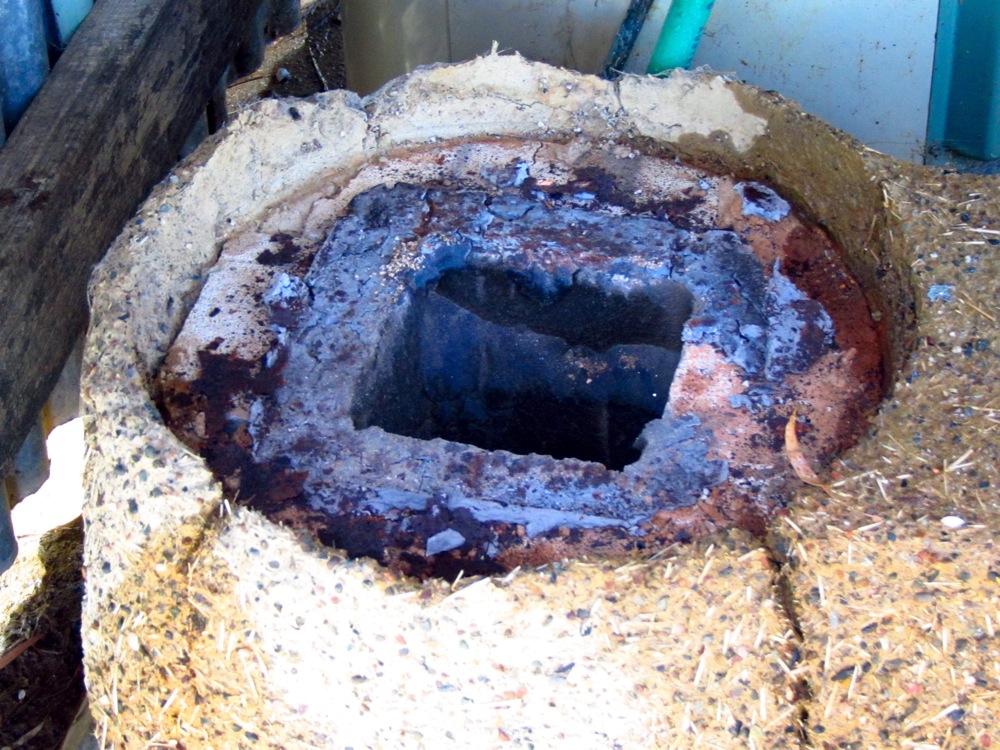
The junction of the burn chamber and the heat riser. Quite a bit of creosote here!
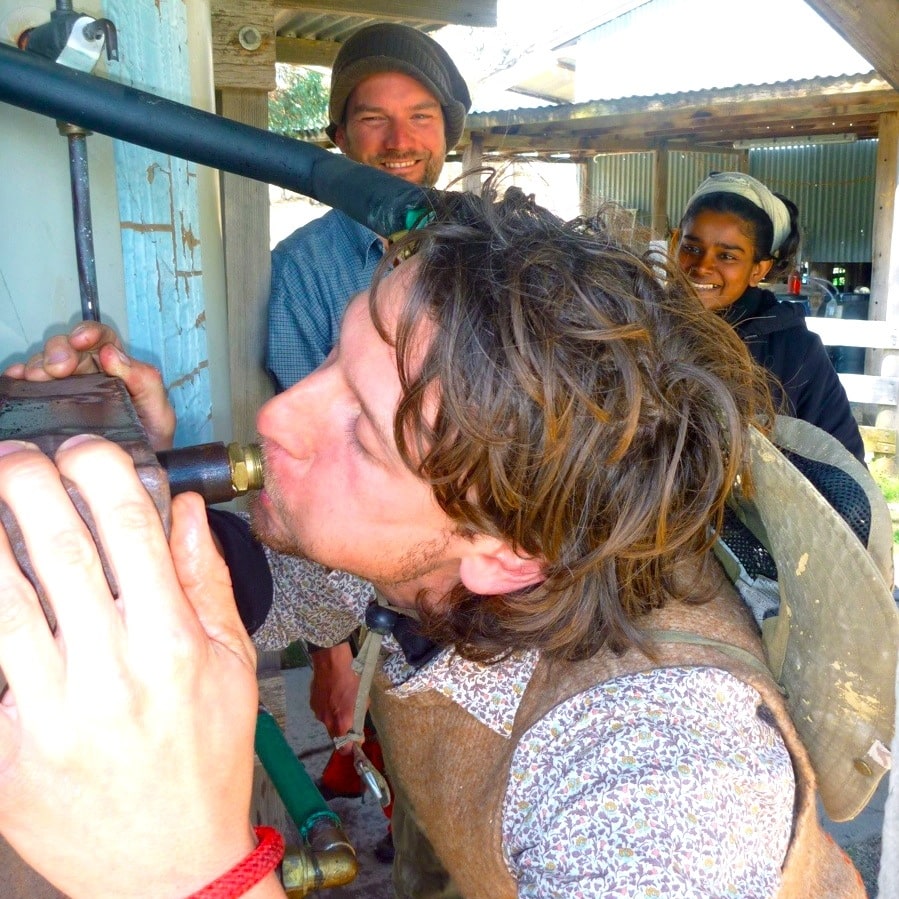
Olivier tests the toot-ability of the water outlet pipe on the heat exchanger
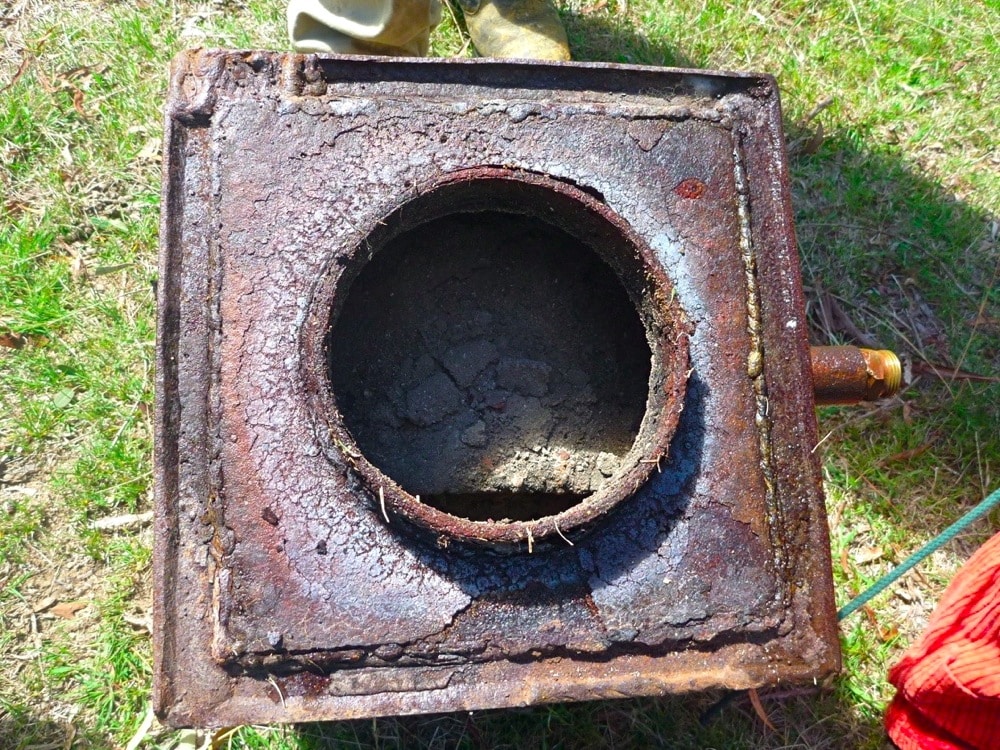
Inside the heat exchanger. Lots more crud-like creosote preventing good heat transfer.
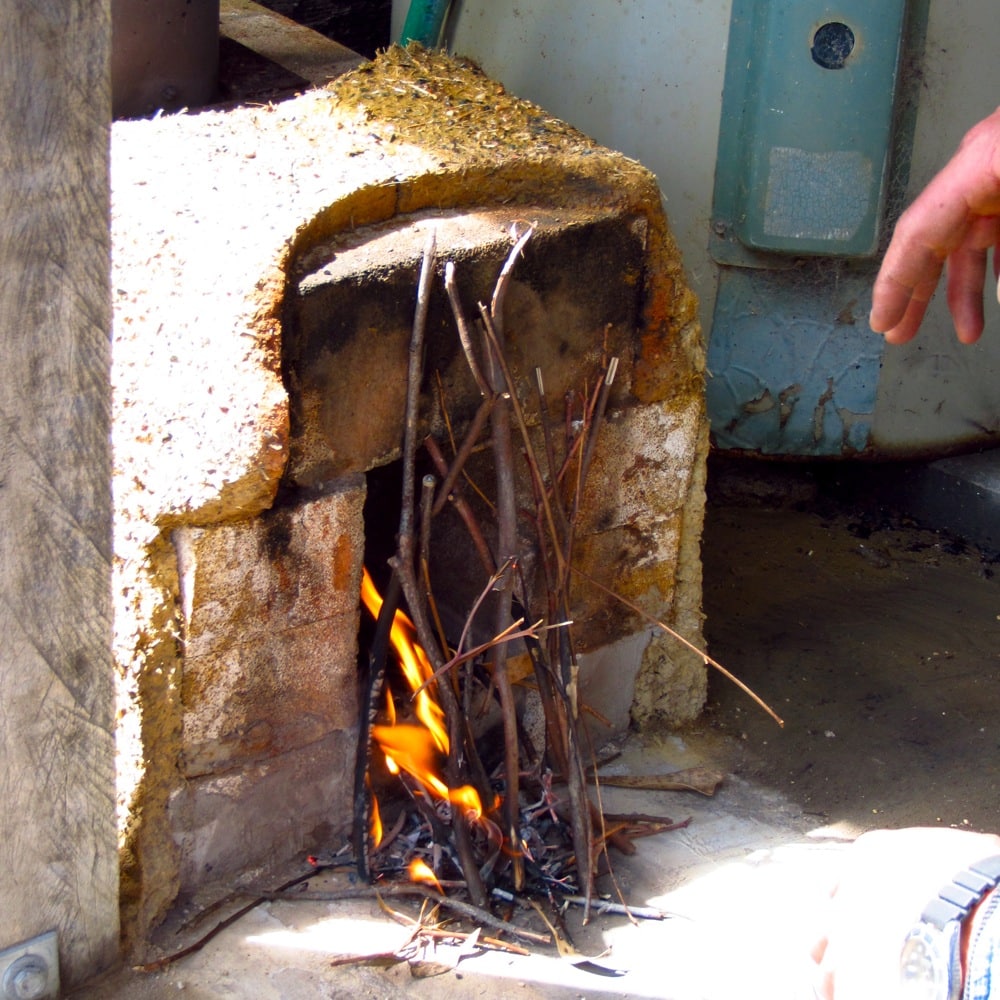
We tested we still had the desired ‘suck’ within the burn chamber, before cobbing back over it.
Once we’d cleaned everything out, we made a couple of other small improvements, one of which involved sacrificing one of my salvaged stainless steel bucket-things for a new and improved feed chamber surround.
I wasn’t entirely happy about this but i suppose all those future hot showers will be worth it.
Then it was time to cob. We had previously cobbed around the firebricks and feed barrel, but due to inadequate roofing (long since fixed) the cob eroded early in our rocket stove’s life. Now it was time to get serious. A layer of cob from top to tail, all in the name of mud.
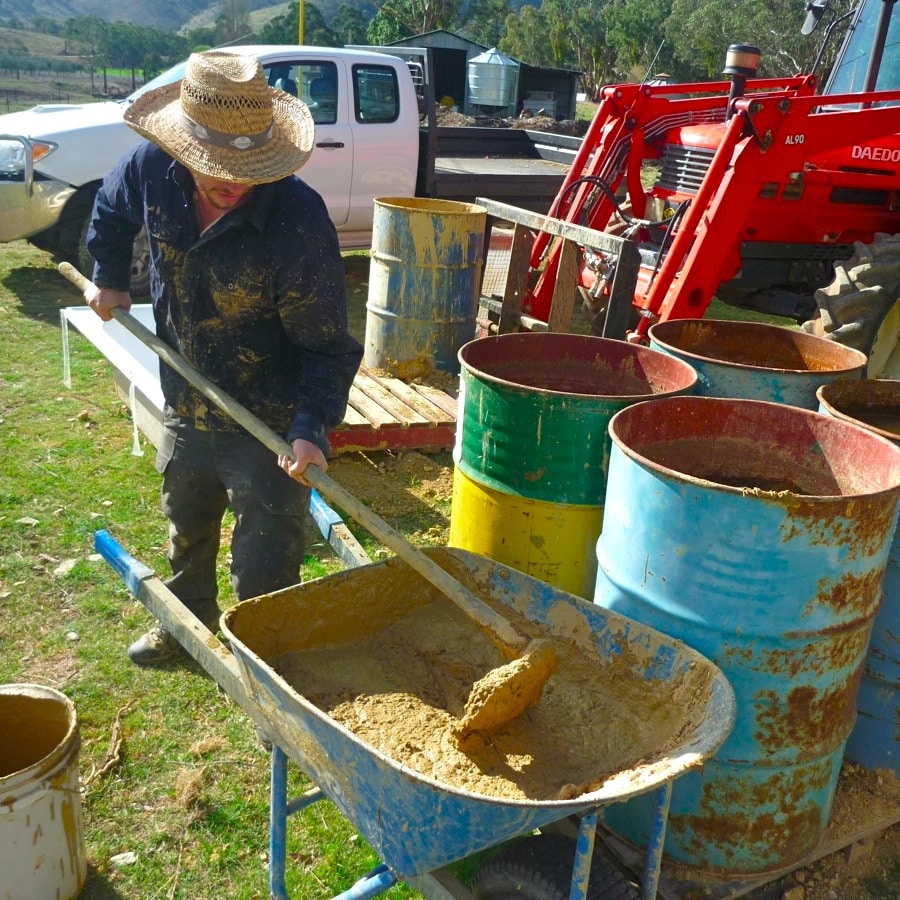
Jurgen mixing up some mud for the cob
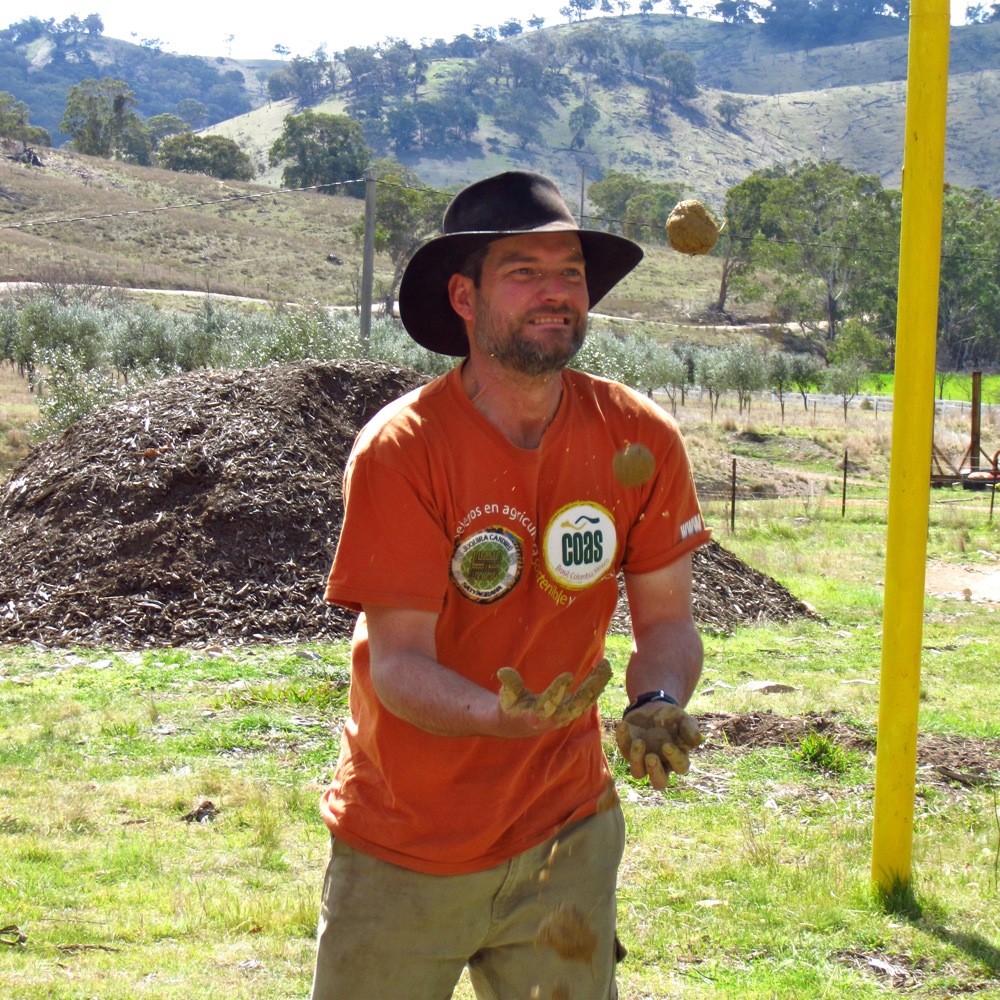
Nick tests the consistency of the straw-and-mud cob mixture. If you can juggle with it, it’s ready…
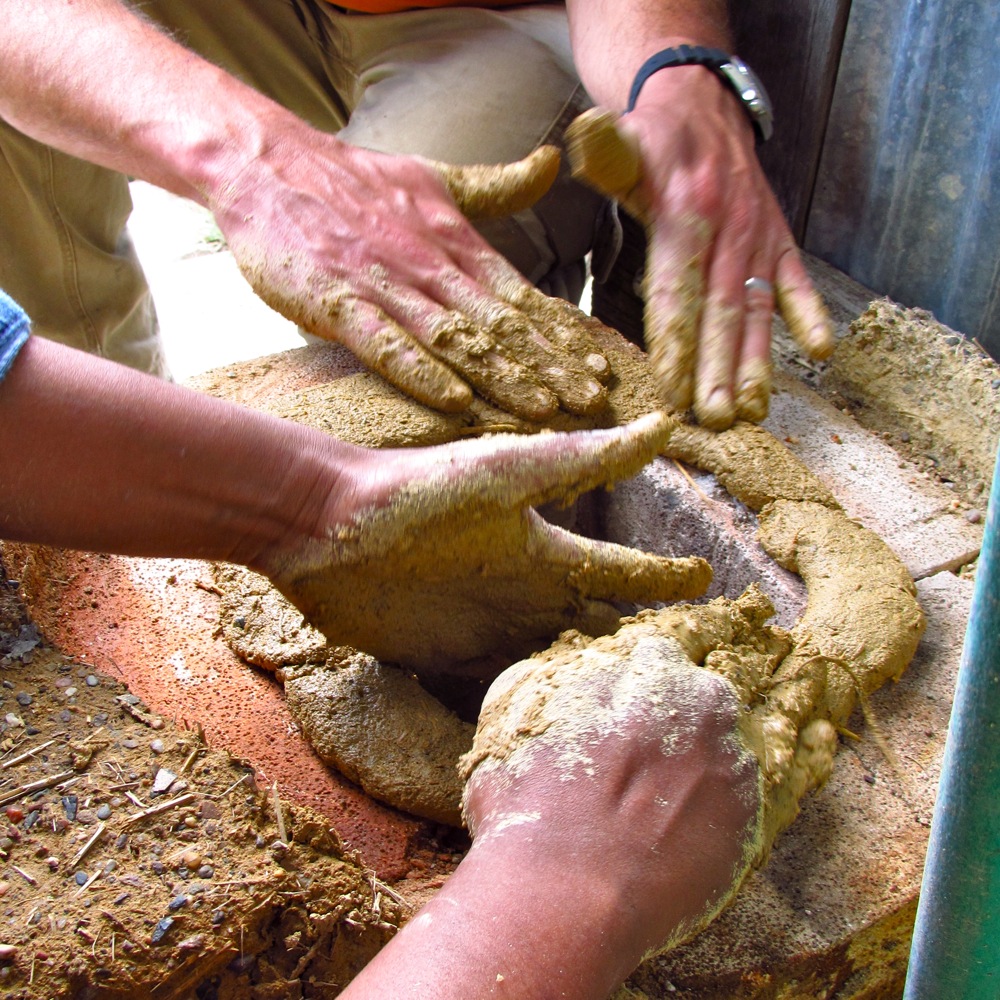
Making a surround to prevent air bleed into the bottom rim of the heat riser.
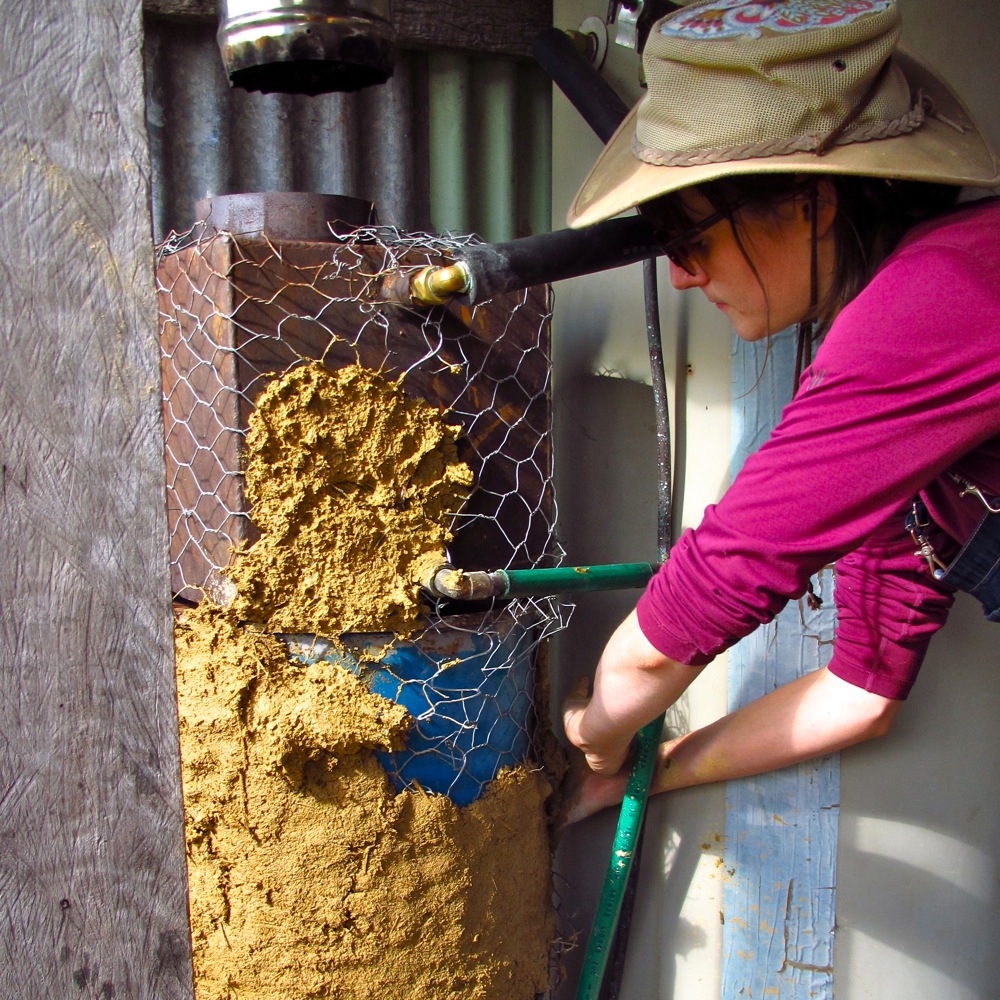
Heat exchanger and heat riser re-installed, Ashely starts in on the first layer of cob.
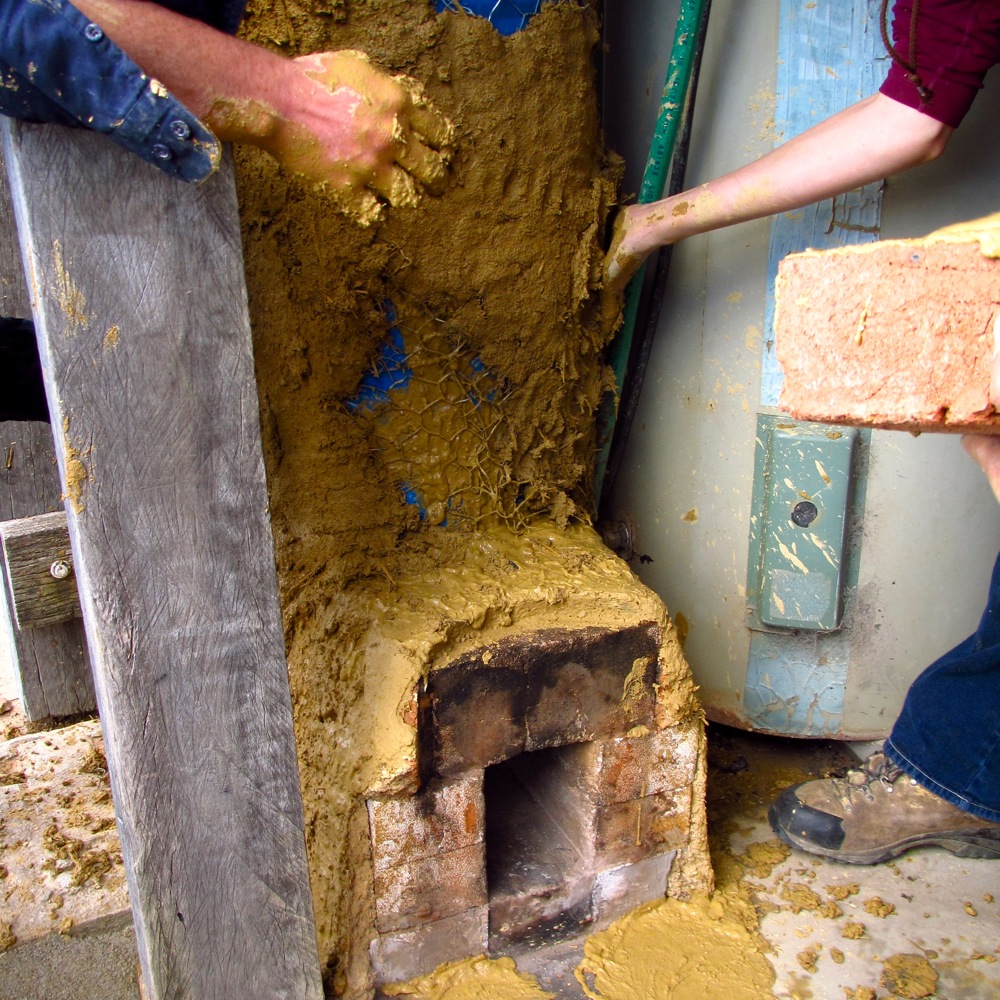
Nearly ready to put the feed chamber back on
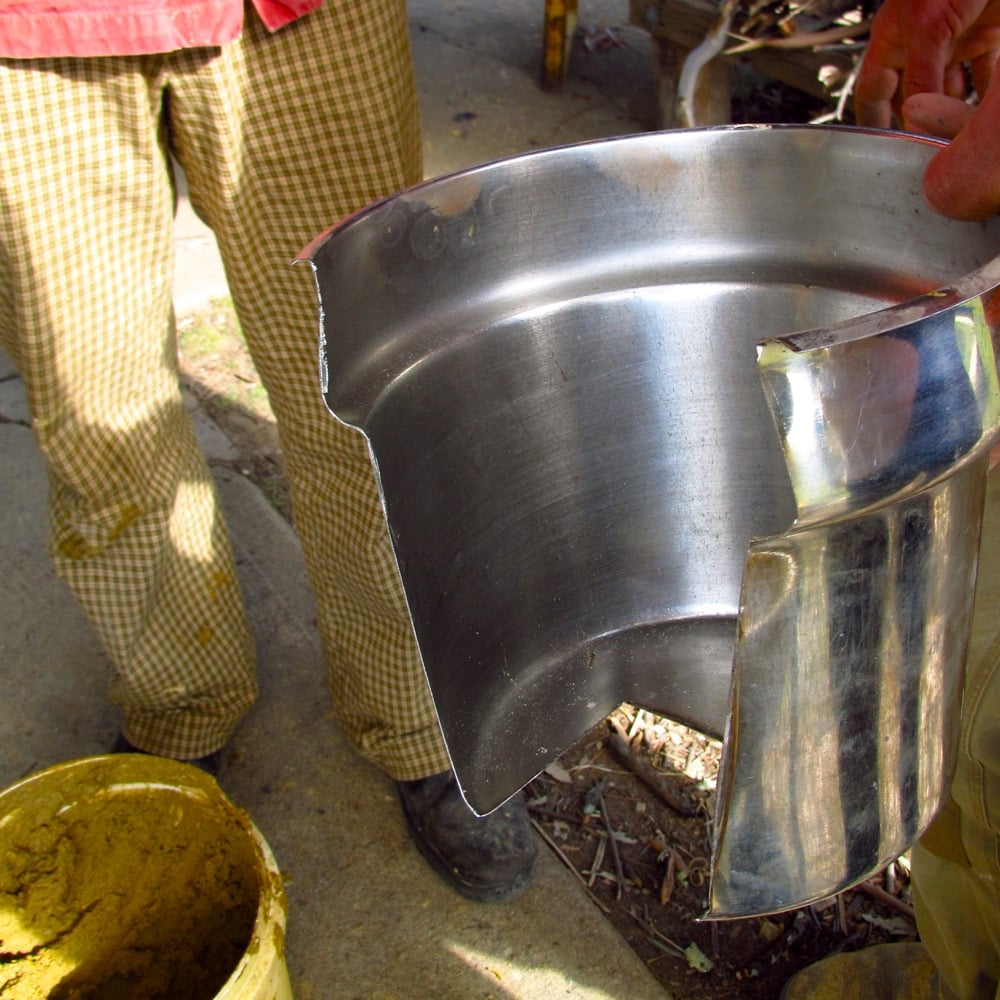
New feed chamber, made from one of my prized steel containers. Sigh. Oh well.
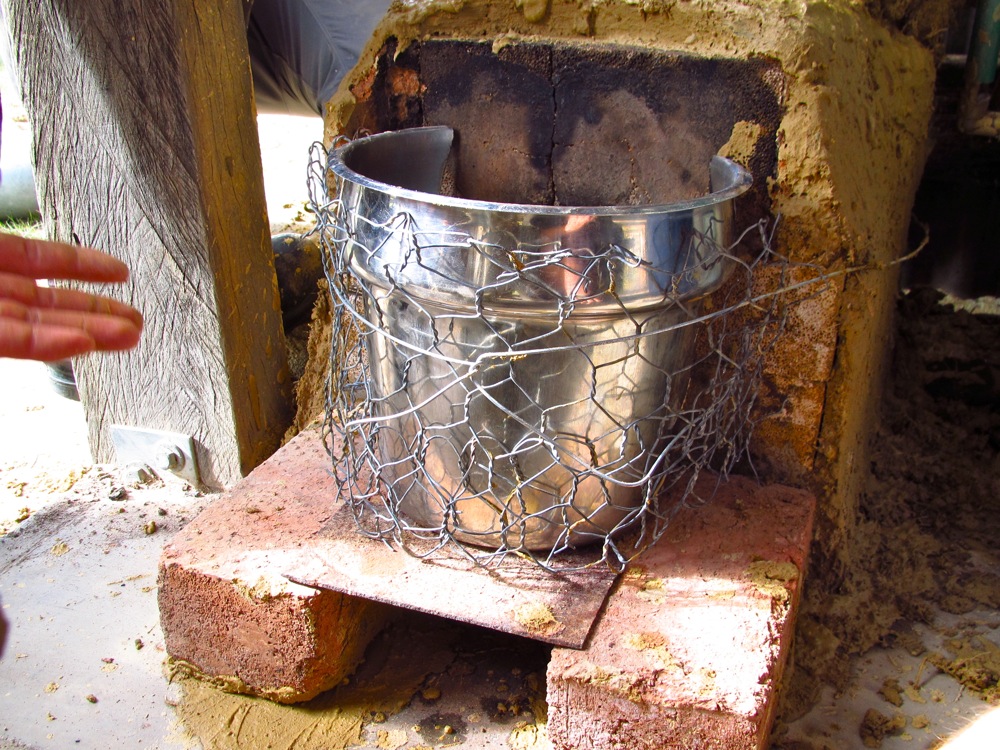
Feed chamber in place, and ready to cob
The maiden burn apon completion. And it’s working better than ever!
All finished and time to fire it up for a nice hot shower. And our rocket stove water heater worked! Much better than it had for a long time previously! Huzzah!
Finally, i think the creosote issue is something that we’ll just have to address on a yearly or bi-yearly basis. I’m ok with that, especially as this is an outdoor, experimental system, and so we may be looking at breaking down the system every 1-2 years to clean it.
Hey, two years of zero-footprint hot showers for one day of tinkering and slapping mud on stuff? Sounds ok with me.
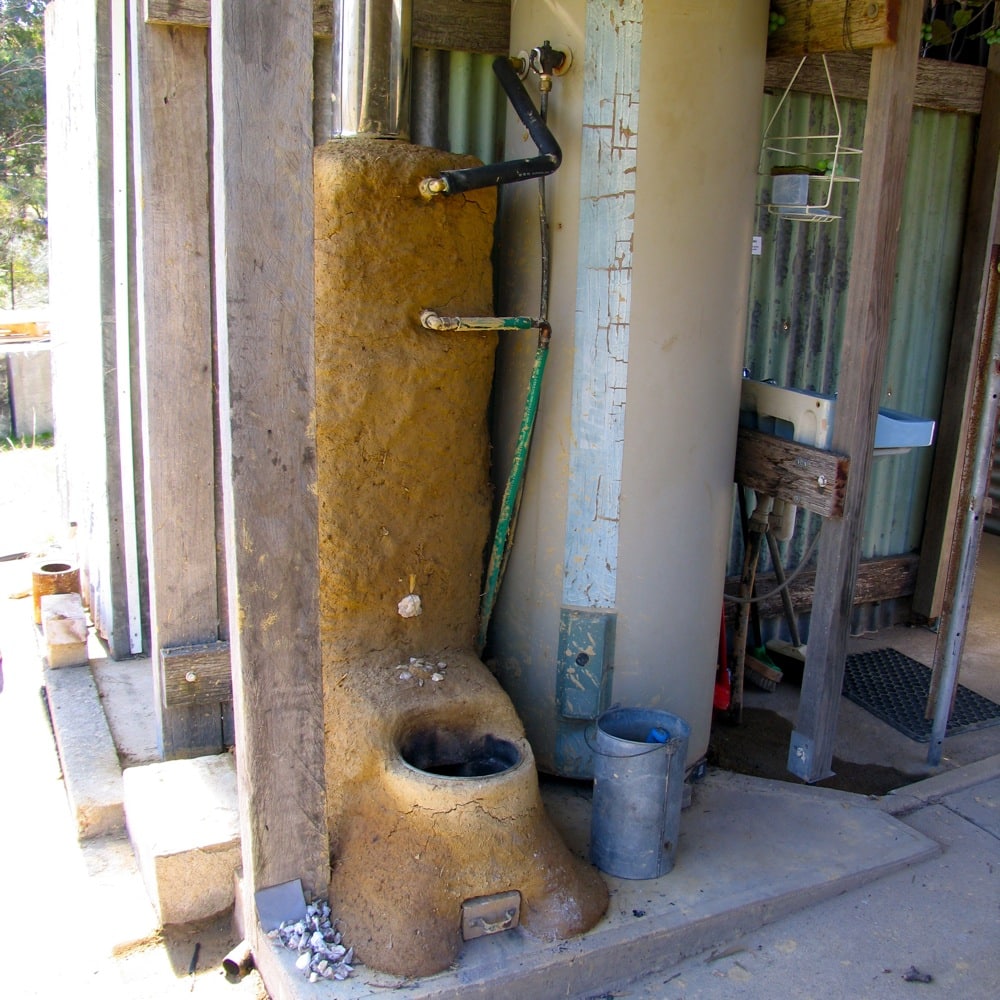
Rocket stove water heater all cobbed and ready for another 2 years of active service.
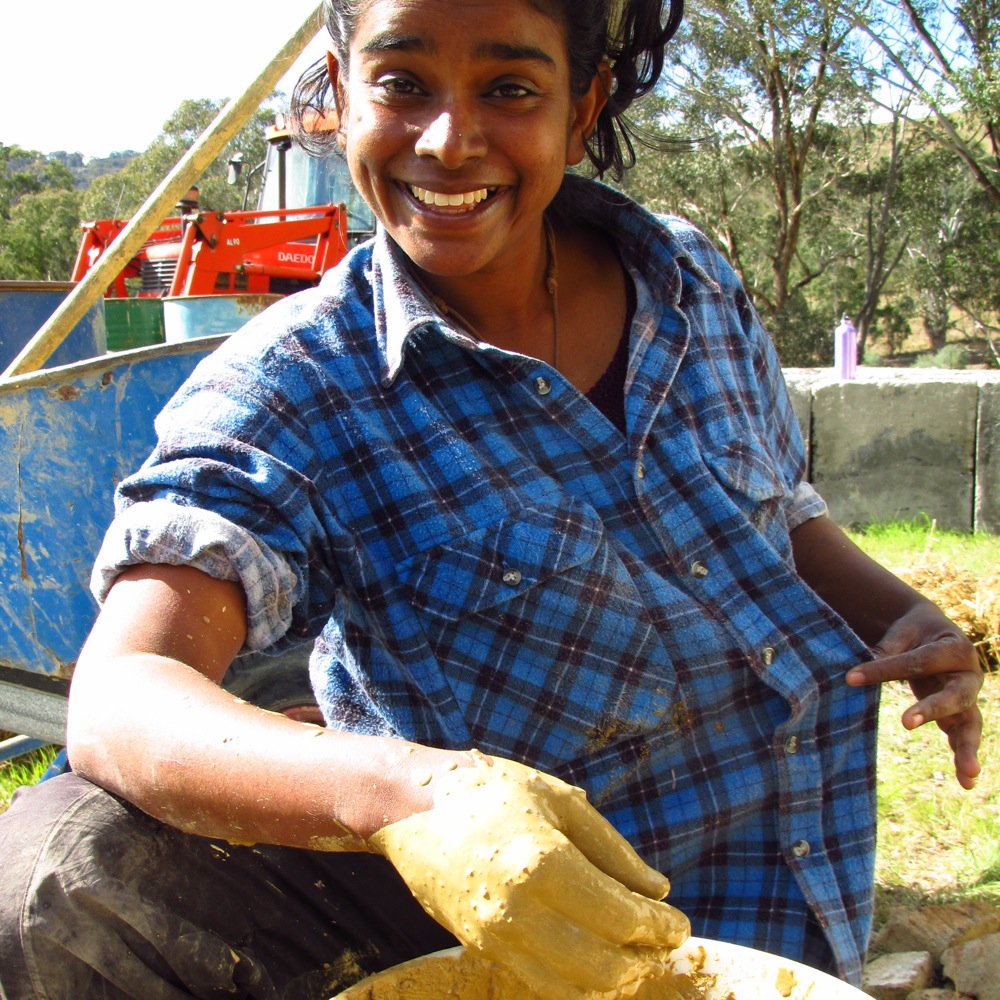
Sabina showing off her muddy farm shirt
Thanks to our fabulous interns for doing a great job on this project and for taking so many silly pictures of each other smeared in soot and mud. Cheers to Adam, Olivier and Claire for the pictures.
Rocket Stove resources:
Possibly related posts
- Our rocket stove water heater: 2.5 years on
- The rocket powered shower
- Mud, glorious mud: rendering the tinyhouse
- Compost toilet specifics: the wheelie bins